
If you’ve spotted something suspicious on a wall or caught a musty smell in your basement, you’ve probably wondered what a full home mold assessment actually involves. It’s not just a quick look around. A proper assessment is a structured investigation that locates mold, maps moisture sources, and gives you a real plan, not just a lab report with numbers you can’t interpret. Many homeowners assume mold testing is the answer, but testing without addressing moisture wastes money and misses the actual problem. This guide breaks down exactly what to expect, when testing matters, and how to act on your results.
Table of Contents
- Key Takeaways
- What is a full home mold assessment
- When mold testing is actually necessary
- Tools used in a professional mold assessment
- What to expect during and after the assessment
- Full assessment vs. basic inspection: choosing the right approach
- My take: stop chasing test results and fix the water
- Ready to take the next step after your assessment
- FAQ
Key Takeaways
| Point | Details |
|---|---|
| Assessment targets moisture first | A full home mold assessment locates mold and identifies the moisture source driving it. |
| Testing isn’t always necessary | If visible mold is present, lab sampling is often unnecessary since no federal safe-level limits exist. |
| Tools matter for hidden mold | Moisture meters and thermal imaging cameras find problems behind walls before they become major damage. |
| Reports include a remediation plan | A quality assessment delivers findings, photos, moisture data, and specific next steps, not just mold species names. |
| Professional vetting is critical | No federal certification exists for mold inspectors, so checking qualifications and references is on you. |
What is a full home mold assessment
A full home mold assessment is a thorough, two-part investigation. First, a trained professional locates any existing mold growth in your home. Second, they identify the moisture sources feeding it. The Minnesota Department of Health explains this clearly: the goal is to find mold and find what’s causing it, in that order. Testing often isn’t part of that picture at all.
This matters because mold is a symptom. The real problem is always water. Whether it’s a slow roof leak soaking your attic decking, condensation collecting in a poorly ventilated crawlspace, or a pipe dripping inside a wall, mold shows up where moisture lives. Understanding why mold is hard to detect is half the battle, because the most damaging growth is almost always in places you can’t easily see.
What gets inspected during a visual walkthrough
The visual inspection covers every mold-prone area of your home systematically. A good assessor won’t just check the obvious spots. They’ll work through:
- Basements and crawlspaces, where ground moisture and poor drainage create chronic dampness
- Attics, where temperature swings and inadequate ventilation cause condensation on decking and insulation
- Bathrooms and kitchens, where steam and water splashing go unaddressed for years
- HVAC systems, which can harbor mold and distribute spores throughout the whole house
- Window frames, exterior walls, and any area with a history of water intrusion
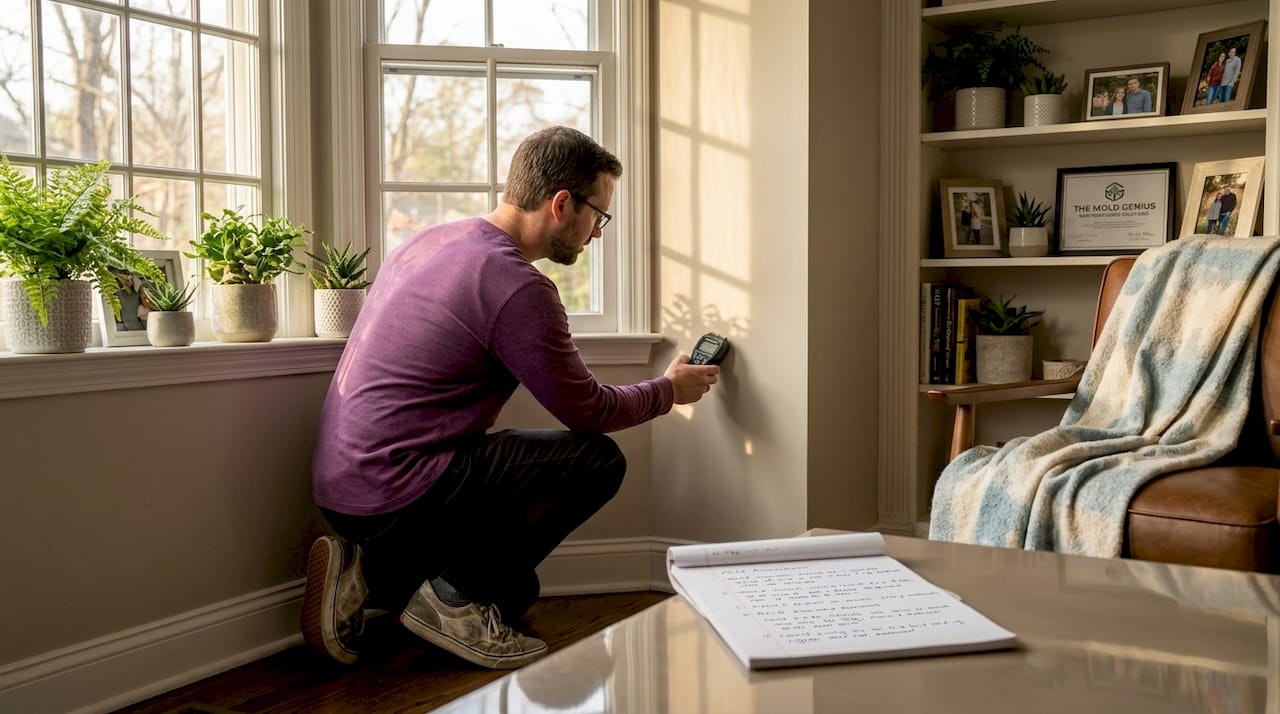
Moisture mapping runs alongside the visual check. An assessor uses readings from multiple points to build a picture of where water is getting in, pooling, or condensing. This is what separates a full assessment from a walk-through someone does in 20 minutes.
Pro Tip: Before the assessor arrives, write down any history of water events: flooding, roof repairs, plumbing leaks, or chronic humidity issues. This context helps a professional focus on the right areas and interpret moisture readings accurately.
When mold testing is actually necessary
Here’s where a lot of homeowners get misled. Mold testing sounds scientific and definitive, like it will give you a clear answer. Often, it doesn’t. The EPA advises that if visible mold is present, sampling is unnecessary. There are no federal standards that define what mold level is “safe” indoors, which means even a detailed lab report doesn’t tell you whether your home is dangerous or not.
Testing adds real value in two specific situations: when you can’t find visible mold but have strong reasons to suspect it (persistent musty odors, unexplained respiratory symptoms, or known water damage), and when you need to confirm that a remediation was successful. That second use case, called clearance testing, is where lab results actually move the needle.
Sampling methods compared
| Sampling Method | Best Use | Limitation |
|---|---|---|
| Air sampling | Detecting elevated spore counts when no visible mold is found | Counts fluctuate with ventilation and activity; one-time reading can mislead |
| Surface sampling (tape/swab) | Identifying mold species on a visible growth | Only tells you what’s there, not how widespread the problem is |
| Bulk sampling | Confirming mold inside building materials | Requires physical material removal; more invasive |
| Clearance testing | Confirming cleanup was successful post-remediation | Should be done by a third party, not the company that did the work |
Pro Tip: If a company pushes you toward expensive testing before doing any visual inspection or moisture mapping, that’s a red flag. As the EPA notes, no federal mold inspector certification exists, so you need to vet qualifications carefully before you hire anyone.
Tools used in a professional mold assessment
The difference between a professional assessment and a DIY look-around is the equipment. A trained assessor brings tools that detect what your eyes can’t. This is especially important for the full mold inspection process when hidden moisture is the suspected culprit.
Here’s what you’ll typically see in use:
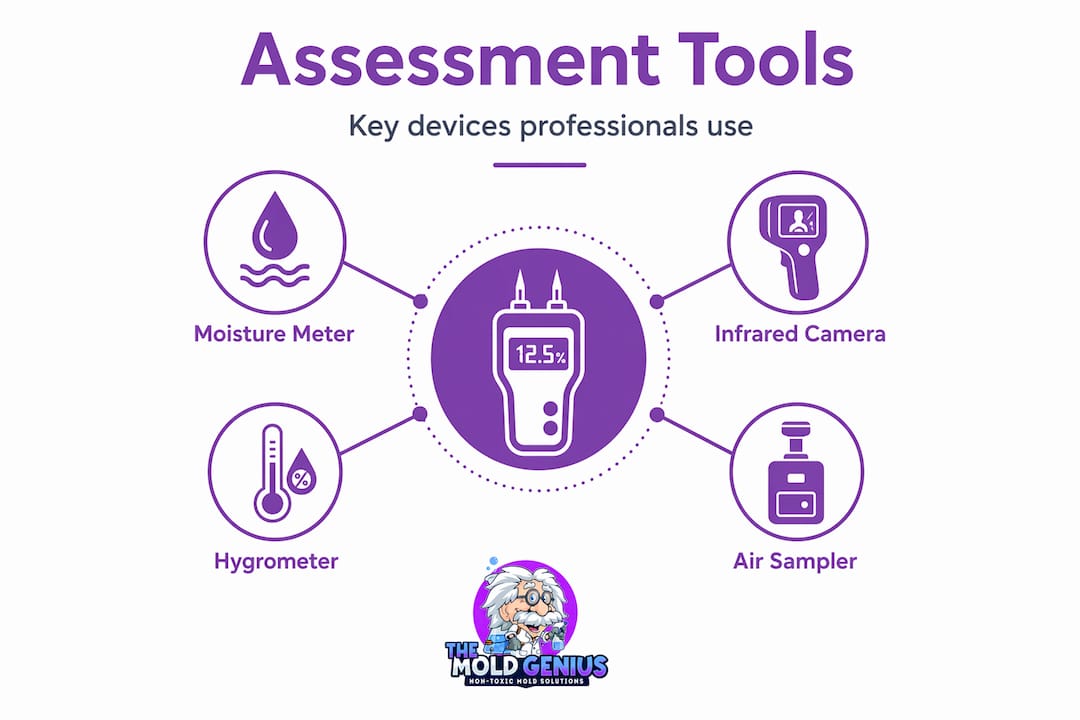
- Moisture meters: These probe or scan building materials to measure moisture content in wood, drywall, and concrete. A reading above normal tells the assessor exactly where water is sitting, even inside a wall.
- Thermal imaging cameras: Infrared cameras detect temperature differences that signal moisture. A wet area behind drywall shows up as a cold spot. This technology finds leaks that no visual inspection could catch.
- Hygrometers: These measure indoor relative humidity. EPA recommends keeping indoor humidity between 30% and 50%. A hygrometer reading above 60% in a basement or crawlspace signals that mold conditions are active even if growth isn’t yet visible.
- Borescopes: A small camera on a flexible cable that lets an assessor see inside wall cavities, under flooring, or above ceiling tiles without cutting anything open.
- Odor detection: Experienced assessors also rely on smell. Musty, earthy odors in a specific area often pinpoint hidden growth before any tool confirms it.
The data from these tools doesn’t just tell you where mold is. It shapes the remediation plan. A moisture-focused assessment treats mold as a symptom of an underlying water problem, which means the fix has to address both.
What to expect during and after the assessment
A full home mold assessment typically takes between two and six hours, depending on the size of your home and how complex the moisture situation is. A professional inspection follows a defined timeline, and your report usually arrives within three to five business days. If samples were collected, lab results typically take 24 to 48 hours and feed into that final report.
Here’s the general sequence of what happens:
- Initial walkthrough and homeowner interview: The assessor asks about your home’s water history, any symptoms you’ve noticed, and areas of concern. Your input matters.
- Room-by-room visual inspection: Every area of the home is checked systematically, starting with the highest-risk zones.
- Moisture mapping: Readings are taken throughout the home and logged to create a moisture map showing problem areas.
- Sample collection (if warranted): Air or surface samples are collected and sent to an accredited lab.
- Report preparation: The assessor compiles photos, moisture readings, any lab data, and specific recommendations into a written report.
- Review and planning: You go through the findings with the assessor and discuss remediation and moisture-fix priorities.
A strong report doesn’t just list mold species. It tells you where the problems are, what’s causing them, and what needs to happen in what order. A comprehensive assessment should always end with a moisture-fix plan and a scope of cleanup.
Pro Tip: Clean your home before the assessment, but do not disturb any suspected mold areas. Moving or cleaning around active mold can spread spores and skew air sample readings.
Full assessment vs. basic inspection: choosing the right approach
Not every mold concern requires the same level of investigation. Understanding the difference helps you avoid overpaying or, worse, underpaying for something that misses the real problem.
| Approach | What’s Included | Best For |
|---|---|---|
| Visual walk-through only | Quick visual check of obvious areas | Minor surface mold with a known, simple cause |
| Limited testing package | Lab samples without moisture mapping | Rarely the right choice; often misleads |
| Full home mold assessment | Visual inspection, moisture mapping, sampling if needed, written report | Any concern involving hidden mold, water damage, health symptoms, or a real estate transaction |
A few things to consider when deciding:
- DIY test kits collect samples you mail to a lab, but without professional moisture mapping, the results tell you almost nothing useful. The Minnesota Department of Health points out that poor or unnecessary testing wastes money better spent on fixing moisture problems.
- Health concerns shift the calculation. If anyone in your household has unexplained respiratory issues, fatigue, or allergy symptoms, a full assessment is worth every dollar.
- Water damage history is a strong indicator that you need the full process. Even if repairs were made, water-damaged materials that weren’t dried within 24 hours can harbor mold inside structural components for years.
- Cost perspective: A full assessment for a small to medium home typically runs $300 to $400, which is a fraction of the cost of catching structural mold damage late. Learning how to choose a mold removal company before you hire anyone will help you avoid paying for unnecessary services.
My take: stop chasing test results and fix the water
I’ve been doing this long enough to spot the pattern immediately. A homeowner gets worried about mold, someone sells them an air test, the results come back with numbers, and now they’re more confused than before. That’s not a diagnosis. That’s a lab printout.
In my experience, the most valuable thing a full assessment delivers isn’t the mold count. It’s the moisture map. Every time I’ve seen a home with recurring mold, someone missed the water source the first time around. Maybe they treated visible growth without checking why the basement wall was damp. Maybe they fogged an attic without addressing the ventilation problem that caused condensation in the first place. The mold came back, because it always does when the moisture stays.
The EPA is direct about this: moisture control is the key to mold prevention. That principle should be the organizing idea behind every assessment a homeowner pays for. If the person you hired isn’t spending real time finding your moisture sources, you didn’t get a mold assessment. You got a walk-through.
When you’re ready to hire someone, ask them how they document moisture data and what a finished report looks like. Ask whether they separate the assessment from the remediation so there’s no financial incentive to find more than is there. The answers will tell you everything. The attic mold issues I’ve seen ignored the longest were always in homes where someone did a visual check, saw nothing obvious, and called it clear. Thermal imaging would have found the problem in ten minutes.
— Jim
Ready to take the next step after your assessment
Once your mold assessment report is in hand, you need a remediation team that actually acts on the findings. That’s where Themoldgenius comes in. As a family-owned company serving the Chicagoland area with over 25 years of combined experience, they built their process around the three things that matter: finding the problem, eliminating it completely, and making sure it doesn’t come back.

Their Pure Cloud Technology reaches mold behind walls, above insulation, and in tight spaces that traditional remediation misses entirely. No gutting rooms, no weeks of disruption. Most jobs wrap up in a single day. Whether your assessment points to basement mold, attic mold, or crawlspace mold, Themoldgenius has a specialized approach for each area. Free estimates are available, and they work directly with major insurance carriers to make the process as straightforward as possible. Visit Themoldgenius mold remediation services to get started.
FAQ
What does a full home mold assessment include?
A full home mold assessment includes a room-by-room visual inspection, moisture mapping with professional tools like thermal imaging cameras and moisture meters, mold sampling if warranted, and a written report with remediation recommendations.
How long does a mold assessment take?
Most full home mold assessments take between two and six hours on-site, with a written report delivered within three to five business days. Lab results from any samples collected typically arrive within 24 to 48 hours.
Is mold testing always necessary during an assessment?
No. The EPA advises that if visible mold is present, sampling is usually unnecessary because no federal limits exist to measure results against. Testing is most useful for clearance verification after remediation.
What mold testing methods do professionals use?
The most common mold testing methods are air sampling, surface sampling (tape or swab), and bulk sampling of building materials. Each method serves a different purpose, and a qualified assessor will recommend only what’s genuinely needed.
How much does a full home mold assessment cost?
A professional full home mold assessment typically costs between $300 and $400 for small to medium-sized homes. That cost is a fraction of what deferred discovery of structural mold damage can run.